In our previous post, we created a rule based on changes to the state of a work item in our Process Template.
Each work item you create in Azure DevOps will have its own State Engine (the states it goes through from beginning to end).
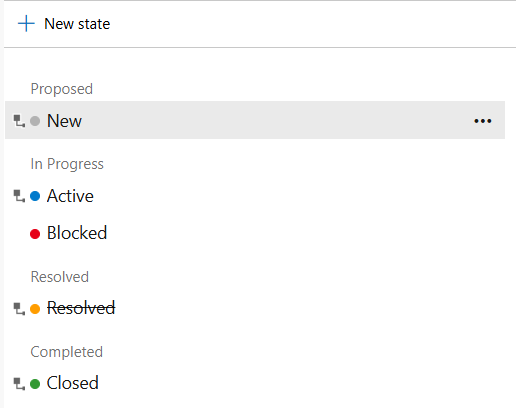
In Azure DevOps, you can create any number of states you want, but they must fit into one of four categories In Progress, Resolved, Completed, or Removed. You can also select a custom colour for each state you create.

Unfortunately, the states you create do not inherit from a uniform state engine and instead exist per work item. This is too bad as sometimes you make a state and you want it be shared, uniformly, across every work item.
For example, I like to create a Blocked state so people can immediately indicate they are stuck on a particular work item and from there carry it up to their parent work items. If you’re stuck on a task, the story is not being worked on and if the story is not being worked on that means the feature is blocked too.
In addition to creating new States, you can also “Hide” states built by the system so people don’t use them. For example, if you have a small dev team who is doing the QA work, going from Resolved to Closed might be an extra step no one needs, in this case, you can right-click and “Hide” the state so it doesn’t appear.
States are the backbone of your work item engine and are a great way to ensure that your dev processes are aligned with the rest of the team’s delivery processes so everyone is talking the same language. That said, be careful to not change them too much or too often, otherwise your team (and your reports) will be very confused.