Whether it’s Agile, Waterfall, Scrum, or any other system you have come up with for delivering software, ensuring that there is no disconnect between the tools your team uses and the process being followed is critical to the success of your system. If are tracking and monitoring the data being collected, this role takes on even greater importance to ensure your team is using the system at hand in the correct way.
Customizing Azure DevOps starts with the project process templates.
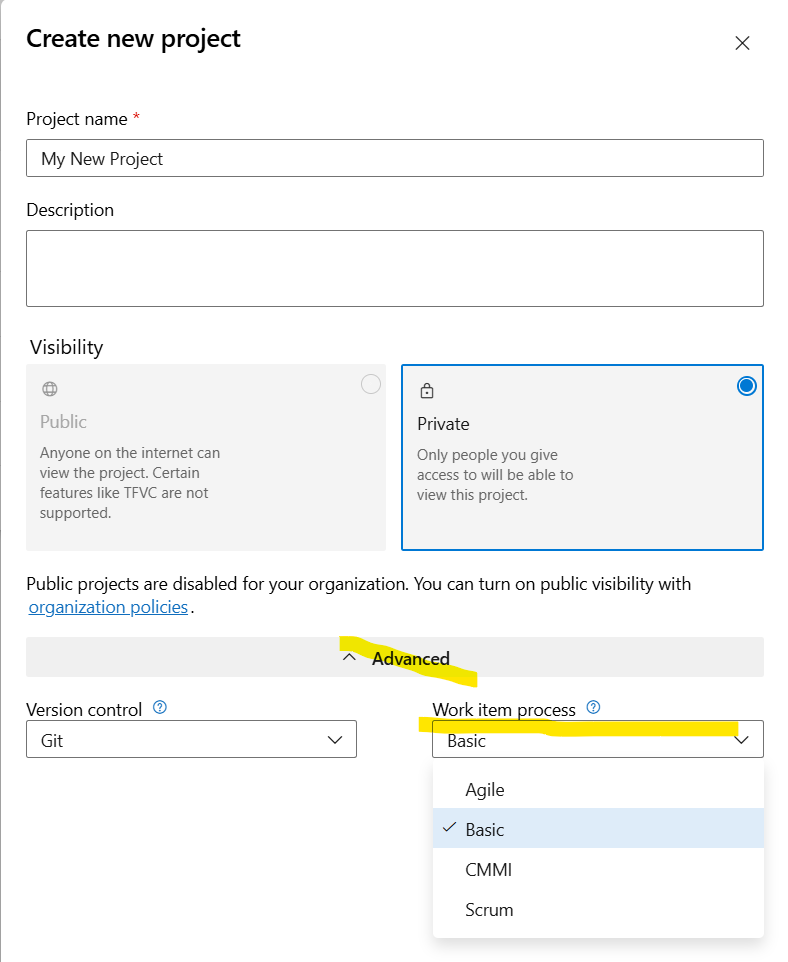
When you create a project for the first time, you select the “Work Item Process” you want to follow by selecting the “Advanced” view and then selecting the process type you want to use.
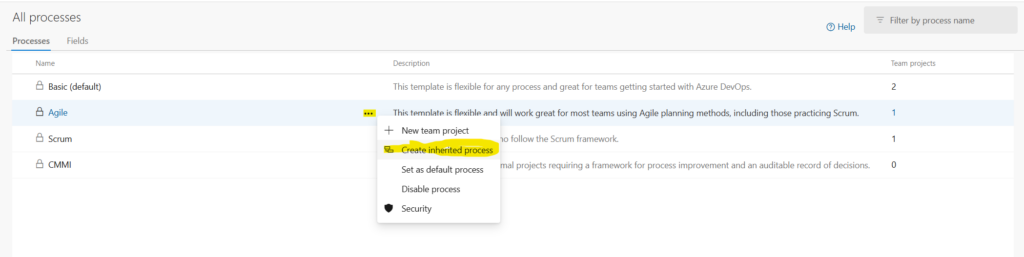
If you are looking to make some simple modifications to these process types, you need to go back to the Organization settings that your project will belong to and select “Process” underneath the Boards menu. Here you will see all the Processes available to you.
I generally prefer not to modify anything in these process types and instead prefer to create an “inherited process” from this process and then modify that one. To do that, you will select the “…” by the process name and click “Create Inherhited Process”
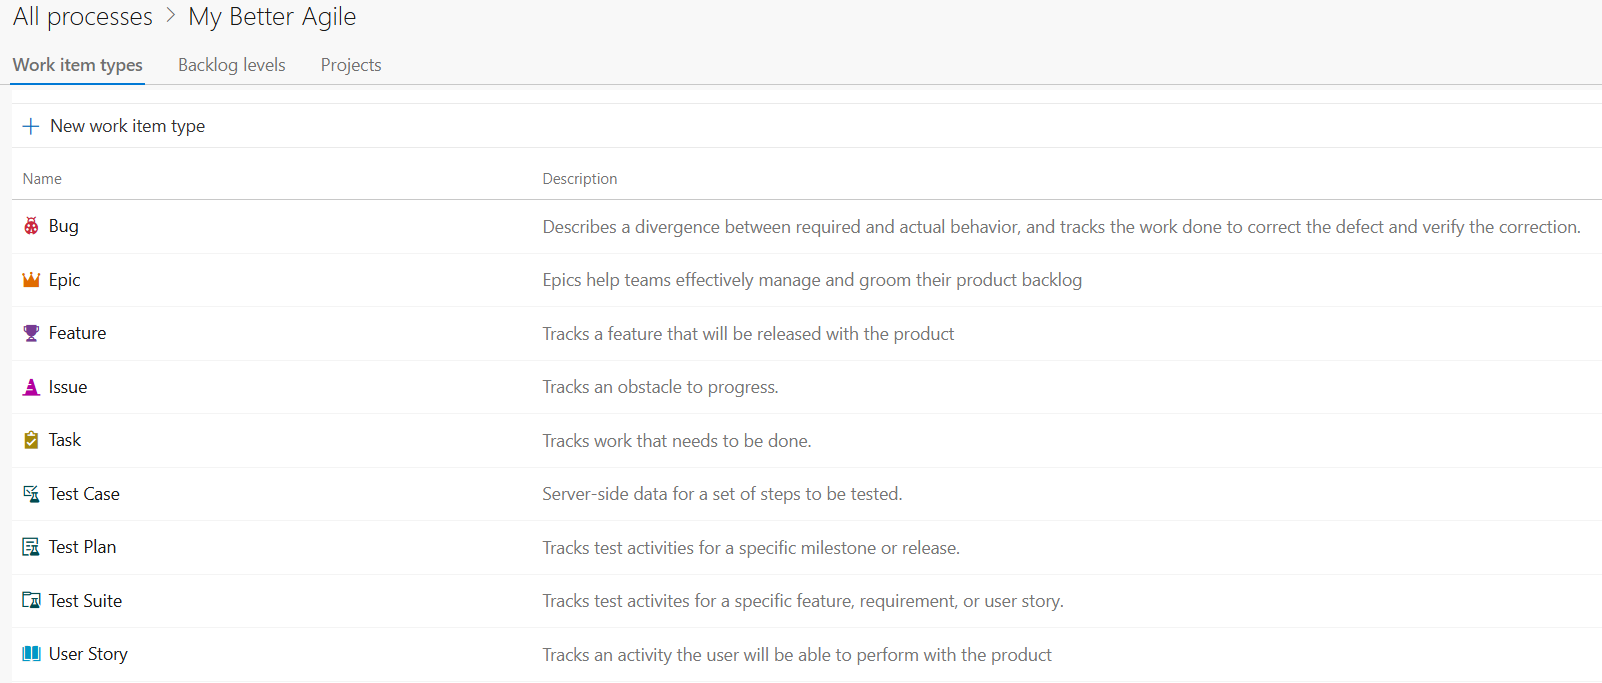
From there you can give it a name and the system will create a new process based on the already existing Agile Process. When you navigate into that process you will see a list of all the base agile objects that are now “inherited” from the base process where you can now modify them as you see fit and not worry about changing the base template.

Now when you go to create your new Project, you will see this process as an option (in the organization where it exists) as an option).
