On of the great things in Azure APIM is that you can use Named Values to store configuration values for your policies in a central location.

You can store these as plain text (not bad), Secrets (better), or have them managed separately in an Azure Key Vault (the best). I say the best for AZ Key Vault because this abstracts the management and ownership of configuration values to another system and/or another group which can free up your life.
When I am configuring things like throttle size and limits, I’ll typically use an plain text named value – the information here doesn’t matter and someone can readily see it. But in the above scenario where I’m referencing secrets and IDs, I definitely prefer to abstract that.
Setting up your Key Vault
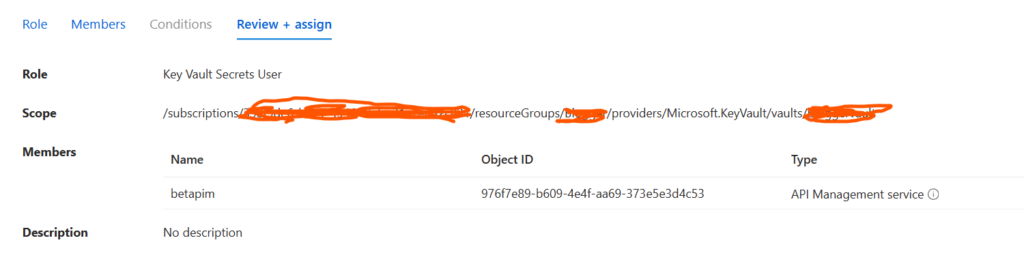
The trickiest part in using AZ Key Vault with APIM are the RBAC role assignments. For this scenario, you want to add your APIM application into the “Key Vaults Secret User” RBAC role. Once they are in this role, APIM will have access to read any key from APIM.
Adding Your Keys
Once you’ve completed adding your permissions when you go to add a new Named Value, select the Type as “Key Vault” and then select the appropriate key. When you navigate back to your Named Values listing, you’ll see your key there.

I believe the refresh interval for key vaults is every 4 – 6 hours, but if you’ve made a change in your key vault that you want immediately reflected in your Named Value, you can right click on the ellipsis and select “Fetch Key Vault Secret” and this will bring the latest value into APIM and update the last fetch date as well.

Consuming the Named Value in Code
Now that we’ve secured our Named Value, the best part is now adding it into our existing policy. Adding Named Values into your code is accomplished by using the Named Value name surrounded by double curly braces, i.e., {{AzureTenant}}
